Stage 1 tasks
Work through the steps in order. If something breaks, compare your blocks to the video.
Video 1 — Time 01:00Open at 01:00 ↗
How to use the videos (do this every stage):
You cannot watch the whole video and remember every step. Instead: watch ~30 seconds, pause, then build that section in Scratch. Repeat.
- Split your screen so you can see Scratch and the video at the same time.
- Windows: open Scratch and the worksheet/video, then press Windows key + Left Arrow to snap one app to the left. Click the other window to fill the right.
- If you want Scratch bigger: drag the divider so Scratch takes about 2/3 of the screen and the video takes 1/3.
Open Scratch and create a new project
- Go to the Scratch website and click Create.
- Close any pop-ups/tutorial panels so you can see the stage clearly.
Delete the default cat sprite
- In the sprite list, hover the cat and click the bin icon.
- Confirm delete.
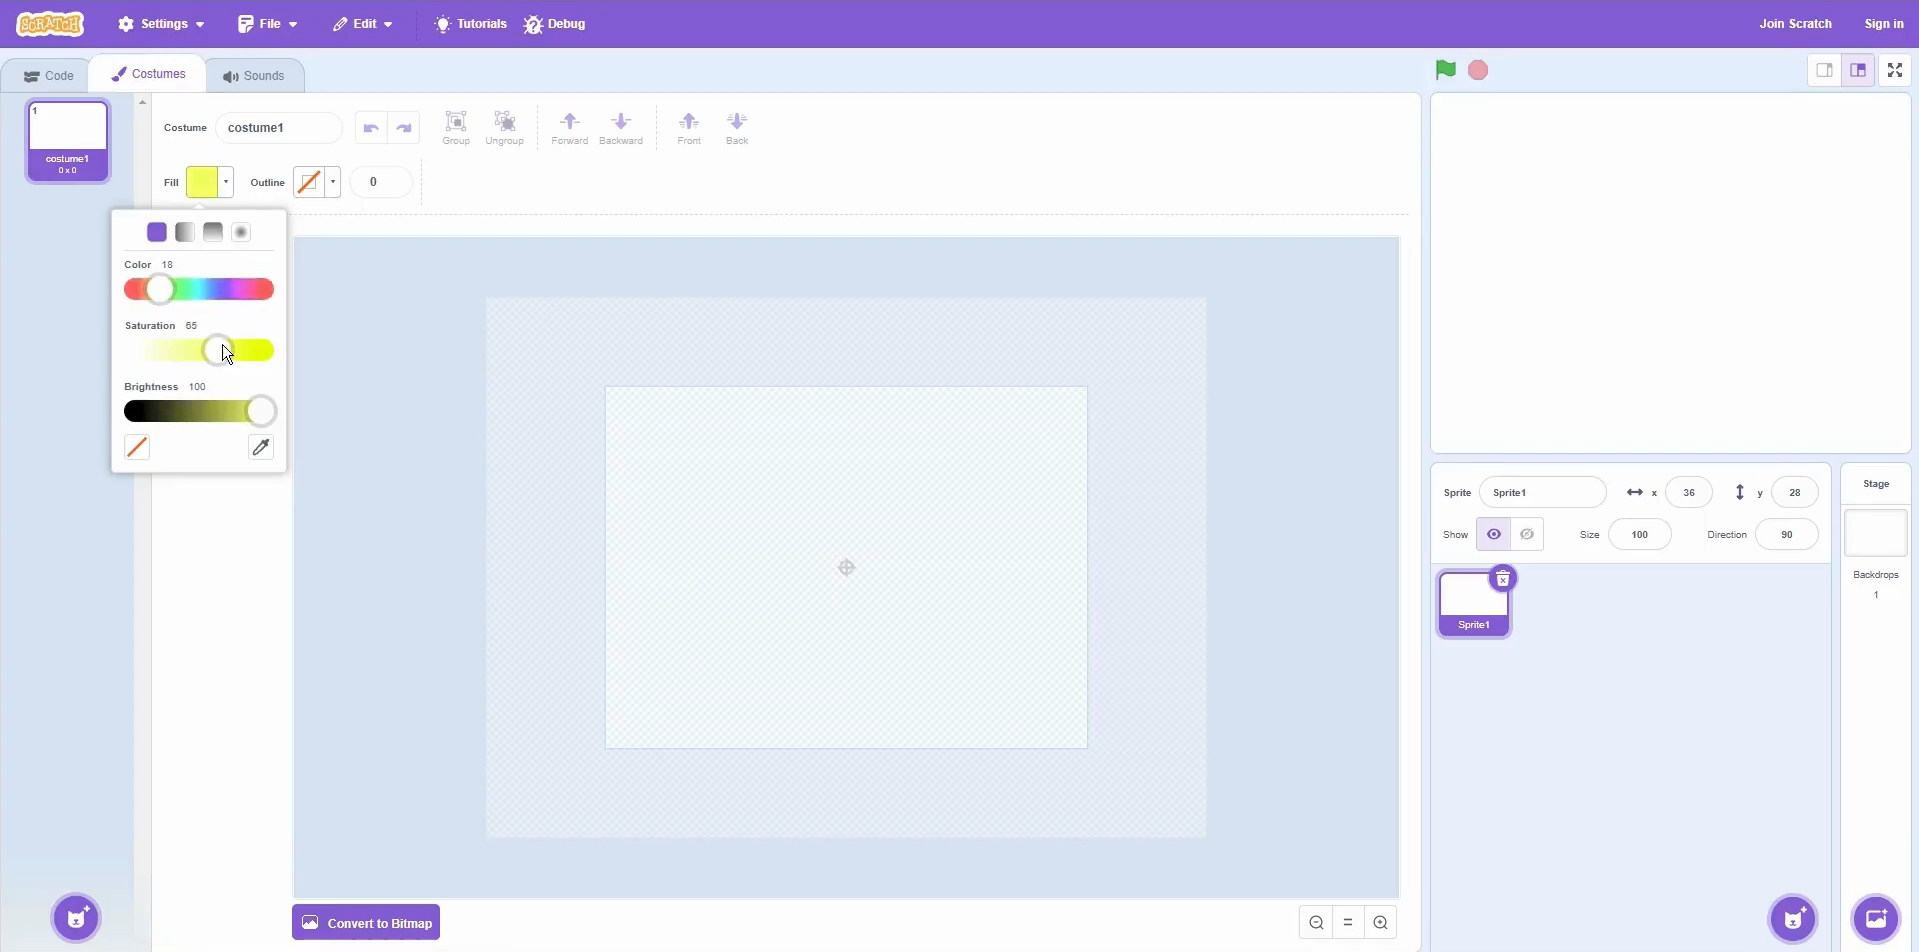
Draw your Main character
- Hover the cat icon (Choose a Sprite) and click Paint.
- Use shapes (circle/rectangle) to create a clear character.
- Hold SHIFT for a perfect circle.
- Use the select/arrow tool to move shapes (don’t redraw by accident).
Name your sprite
- Rename your character to: Main.
Quick check (it works if…)
- The cat is gone and you have a new sprite called Main.
- Your Main character is centred on the costume crosshair (roughly in the middle).
Extension:
- Add a second costume for Main (e.g., ‘walking’). You can switch later for animation.
Scratch tips for this stage:
- Use SHIFT to draw perfect circles/squares.
- Use the select/arrow tool to move shapes — clicking with a shape tool will draw a new one.
- Keep your sprite centred on the costume crosshair (helps collisions feel fair).